How to Wash a Down Sleeping Bag
remove odors and feel warmer with Do-It-Yourself Instructions for a clean sleeping bag
A clean and fluffy sleeping bag is a joy of sleeping in a campsite.
Updated December 16th, 2024
Home > Learn Skills
If your old sleeping bag is not feeling as warm as it did when it was new, you don't need to replace it--just give it a wash. A clean sleeping bag will smell better and feel warmer--just like your sleeping bag felt when you first bought it.
In this article, I'm going to show you how to wash a down sleeping bag—whether that’s your backpacking sleeping bag, an ultralight quilt, or a comfy camping sleeping bag. This same process works for any down outdoor item, including down jackets, pants, and quilts. Similar directions will work for washing a synthetic sleeping bag, too. We’ve got a whole article dedicated to washing down jackets, so check that out if you’re washing apparel.
Down is a great insulator for a sleeping bag because it is warm, light, and packable. Down gear like sleeping bags and jackets can even last a decade or more--as long as you take the time to clean it.
Dirt and oils prevent down from lofting, which is what makes it a great insulator. If you’ve used your down sleeping bag or quilt for a season or two, you’ll want to restore its warmth by giving it a wash.
Washing sleeping bags can be intimidating because they’re made of fragile materials—that’s true for sleeping bags made of down or synthetic materials. Here’s a safe and damage-free way to wash your bag yourself.
Always check the sleeping bag manufacturer's washing instructions before you begin washing.
We create reader-supported, objective gear reviews independently selected by our editors. This story may contain affiliate links, which help keep us running. When you click on the links to purchase gear, we may get a commission, without costing you an extra cent. Thank you for supporting our work and mission of outdoor coverage for every body! Learn more.
Thru-hikers on the Continental Divide Trail take a break in the town of Pagosa Springs, Colorado to visit the laundromat and wash their gear. Treeline Review writer Kate Hoch (back) shared this image.
You’ll need:
A bathtub or a large sink (or a front-loading washing machine)
Technical soap made for down insulation, like Nikwax Down Wash Direct, Nikwax Tech Wash (for synthetic bags) or Granger’s Down Wash. Do not use a grocery store detergent or soap not specifically designed for sleeping bags as they will strip oil from down that keeps it aloft.
A large front-loading dryer with a low heat setting or bathtub
If using a laundromat, lots of quarters
At least 5 hours of time to wash and dry
Several clean tennis balls or dryer balls
Your sleeping bag
Optional:
Tenacious Tape (for repairs)
Old clean toothbrush (for spot cleaning)
inspect your bag
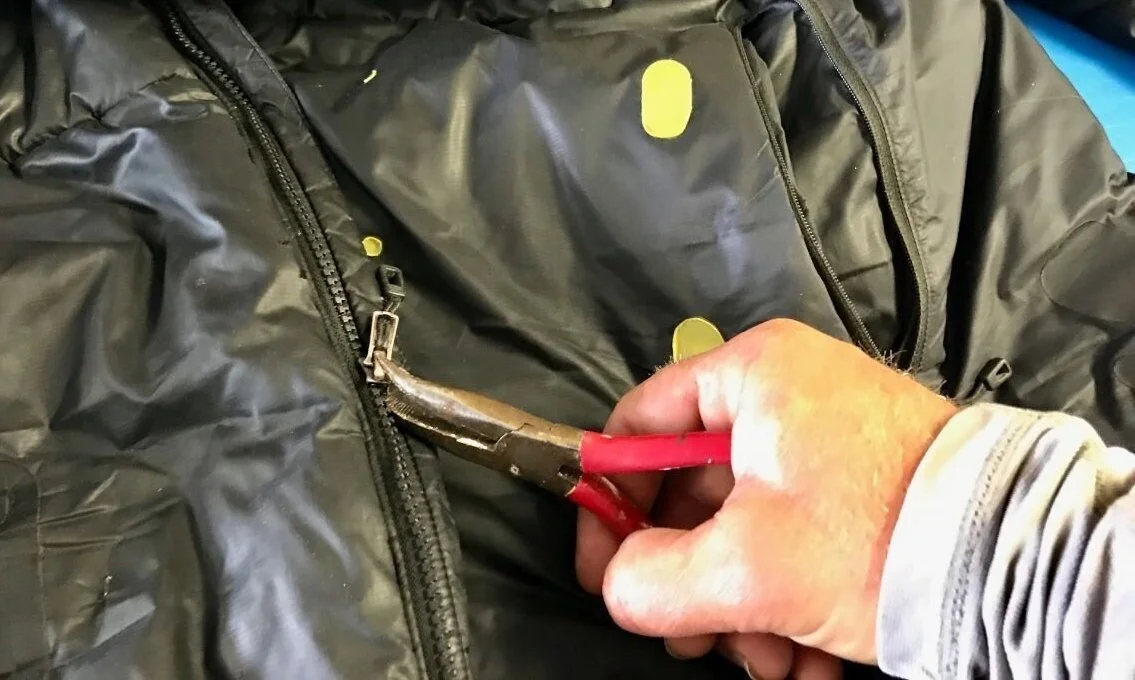
Check your bag beforehand for rips. I use Gear Aid Tenacious Tape to temporarily repair holes before I can get it to a repair shop. Most craftspeople *require* you wash a bag before they’ll work on it.
2. Spot cleaning
Spot cleaning can help remove tough stains that may otherwise not come out.
Gently nudge the down away from stained areas so you only treat the fabric. Using a few drops of down wash and a clean towel, gently scrub away the stain. Then, wipe away residual soap. Use a little warm water as needed. As with washing your entire bag, do not use a grocery store detergent.
3. clean your Zipper
If there’s mud, dirt, or even salt from beach camping trapped in zipper teeth, it might stick when you zip and unzip. Use a clean old toothbrush to gently remove dirt and debris. Open zippers completely before washing. If anything is broken, see our article on How to Fix Zippers on Outdoor Gear. It’s surprisingly fast and inexpensive to do yourself. If needed, consider using a zipper lubricant.
Do not use lip balm or cooking oils, which can attract dirt and grime to your zipper making the situation worse.
If using a washing machine to wash your sleeping bag, make sure it is a front loader.
4. Washing
Machine Washing Method
CHOOSE THE RIGHT WASHING MACHINE
Some sleeping bag manufacturers say it’s ok to wash your bag using a front loading washing machine. If you do machine wash, use one that has variable spin speeds. Choose the lowest spin speed.
Whatever you do, don’t use a top loading washing machine. Top loaders use agitation to clean. This process notoriously rips fabric.
LOAD THE MACHINE
Follow the instructions on the bottle of down wash to determine the proper amount of add to the machine for sleeping bags. Set it for a gentle cycle. Cold water is the safest, but some manufacturers say warm water is ok. Check with your sleeping bag manufacturer for recommendations. Again, use an wash designed for down, not a regular detergent.
RINSE AND REMOVE
After the wash cycle is done, consider doing 3 extra spins on a slow and delicate cycle. Then carefully remove the sleeping bag from the machine using both hands to prevent ripping the delicate shell fabric. This is where a laundry bucket comes in handy.
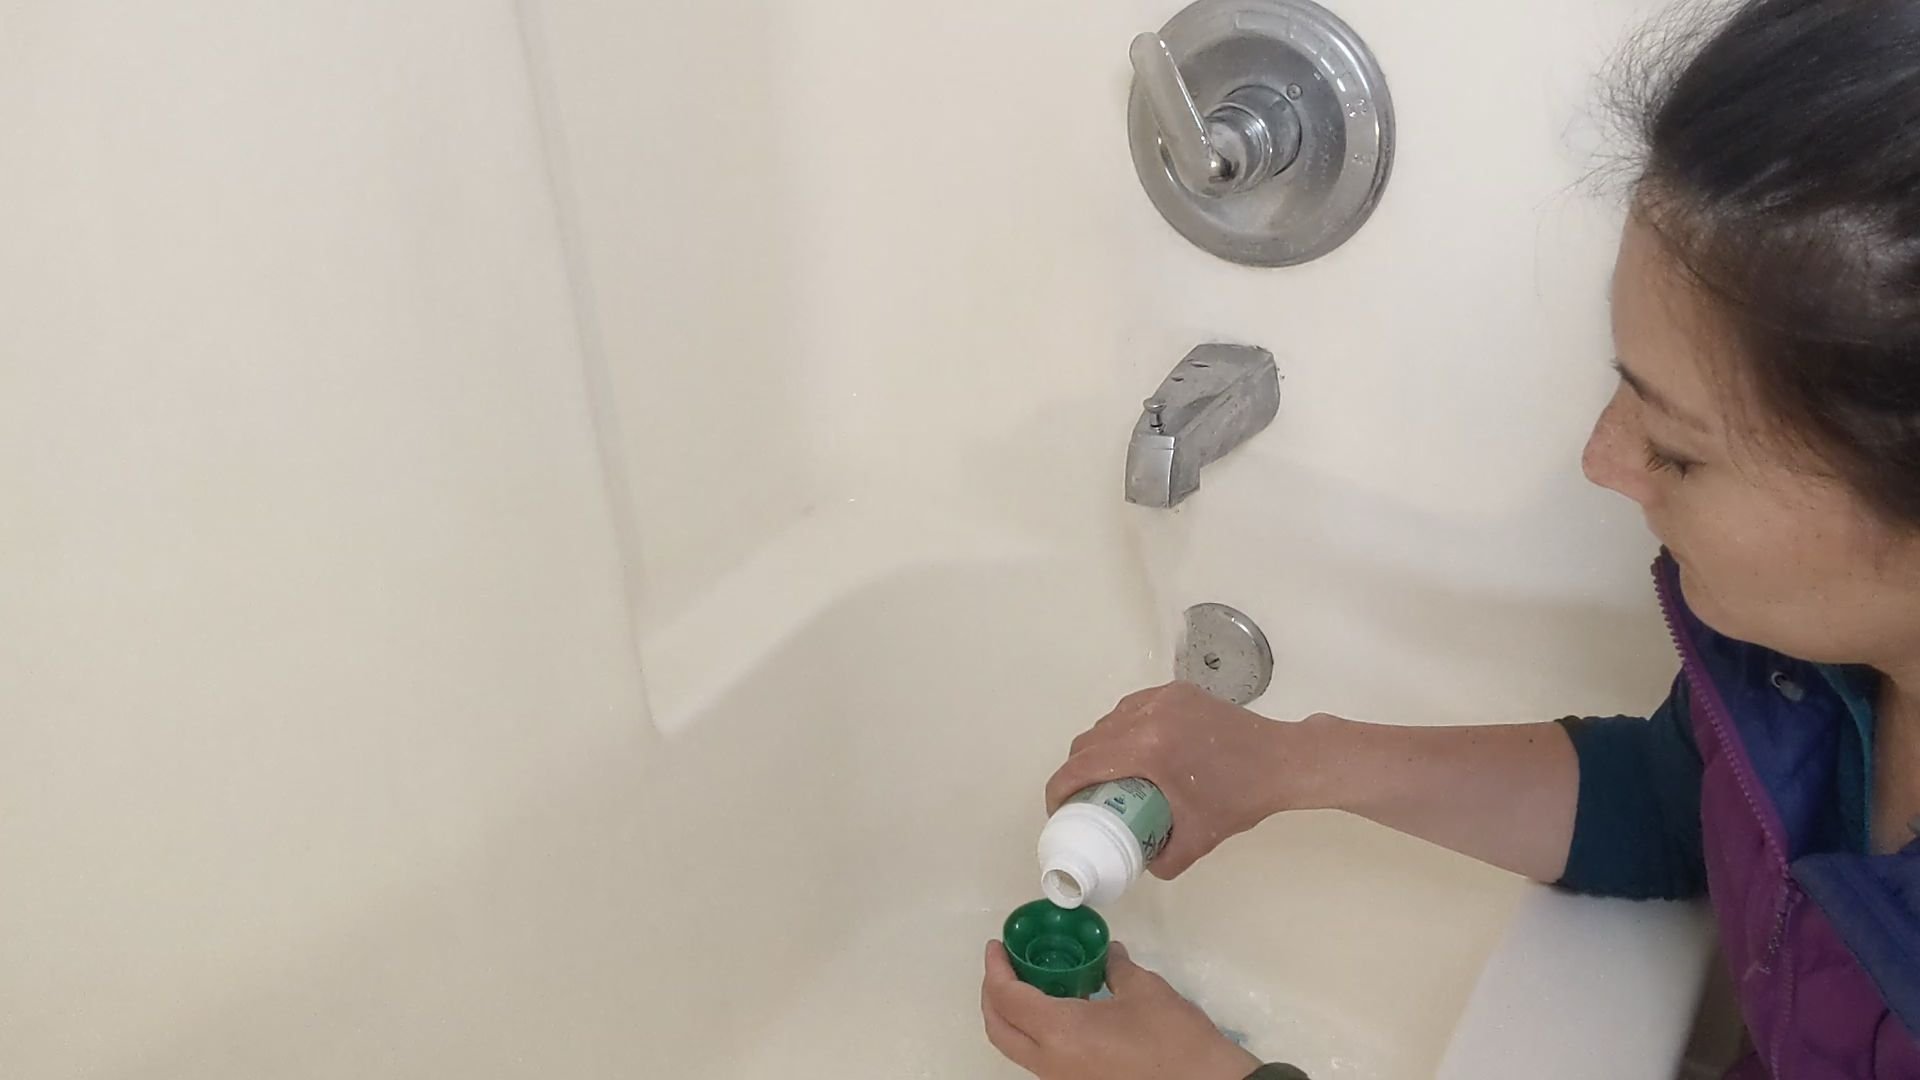
Treeline Review editor Liz Thomas measures out down wash into a bath tub o wash a sleeping bag.
Bath Tub Method
I prefer to play it safe by using a bathtub or large sink to clean my sleeping bags by hand. Here’s what I do:
Hand washing and Soaking
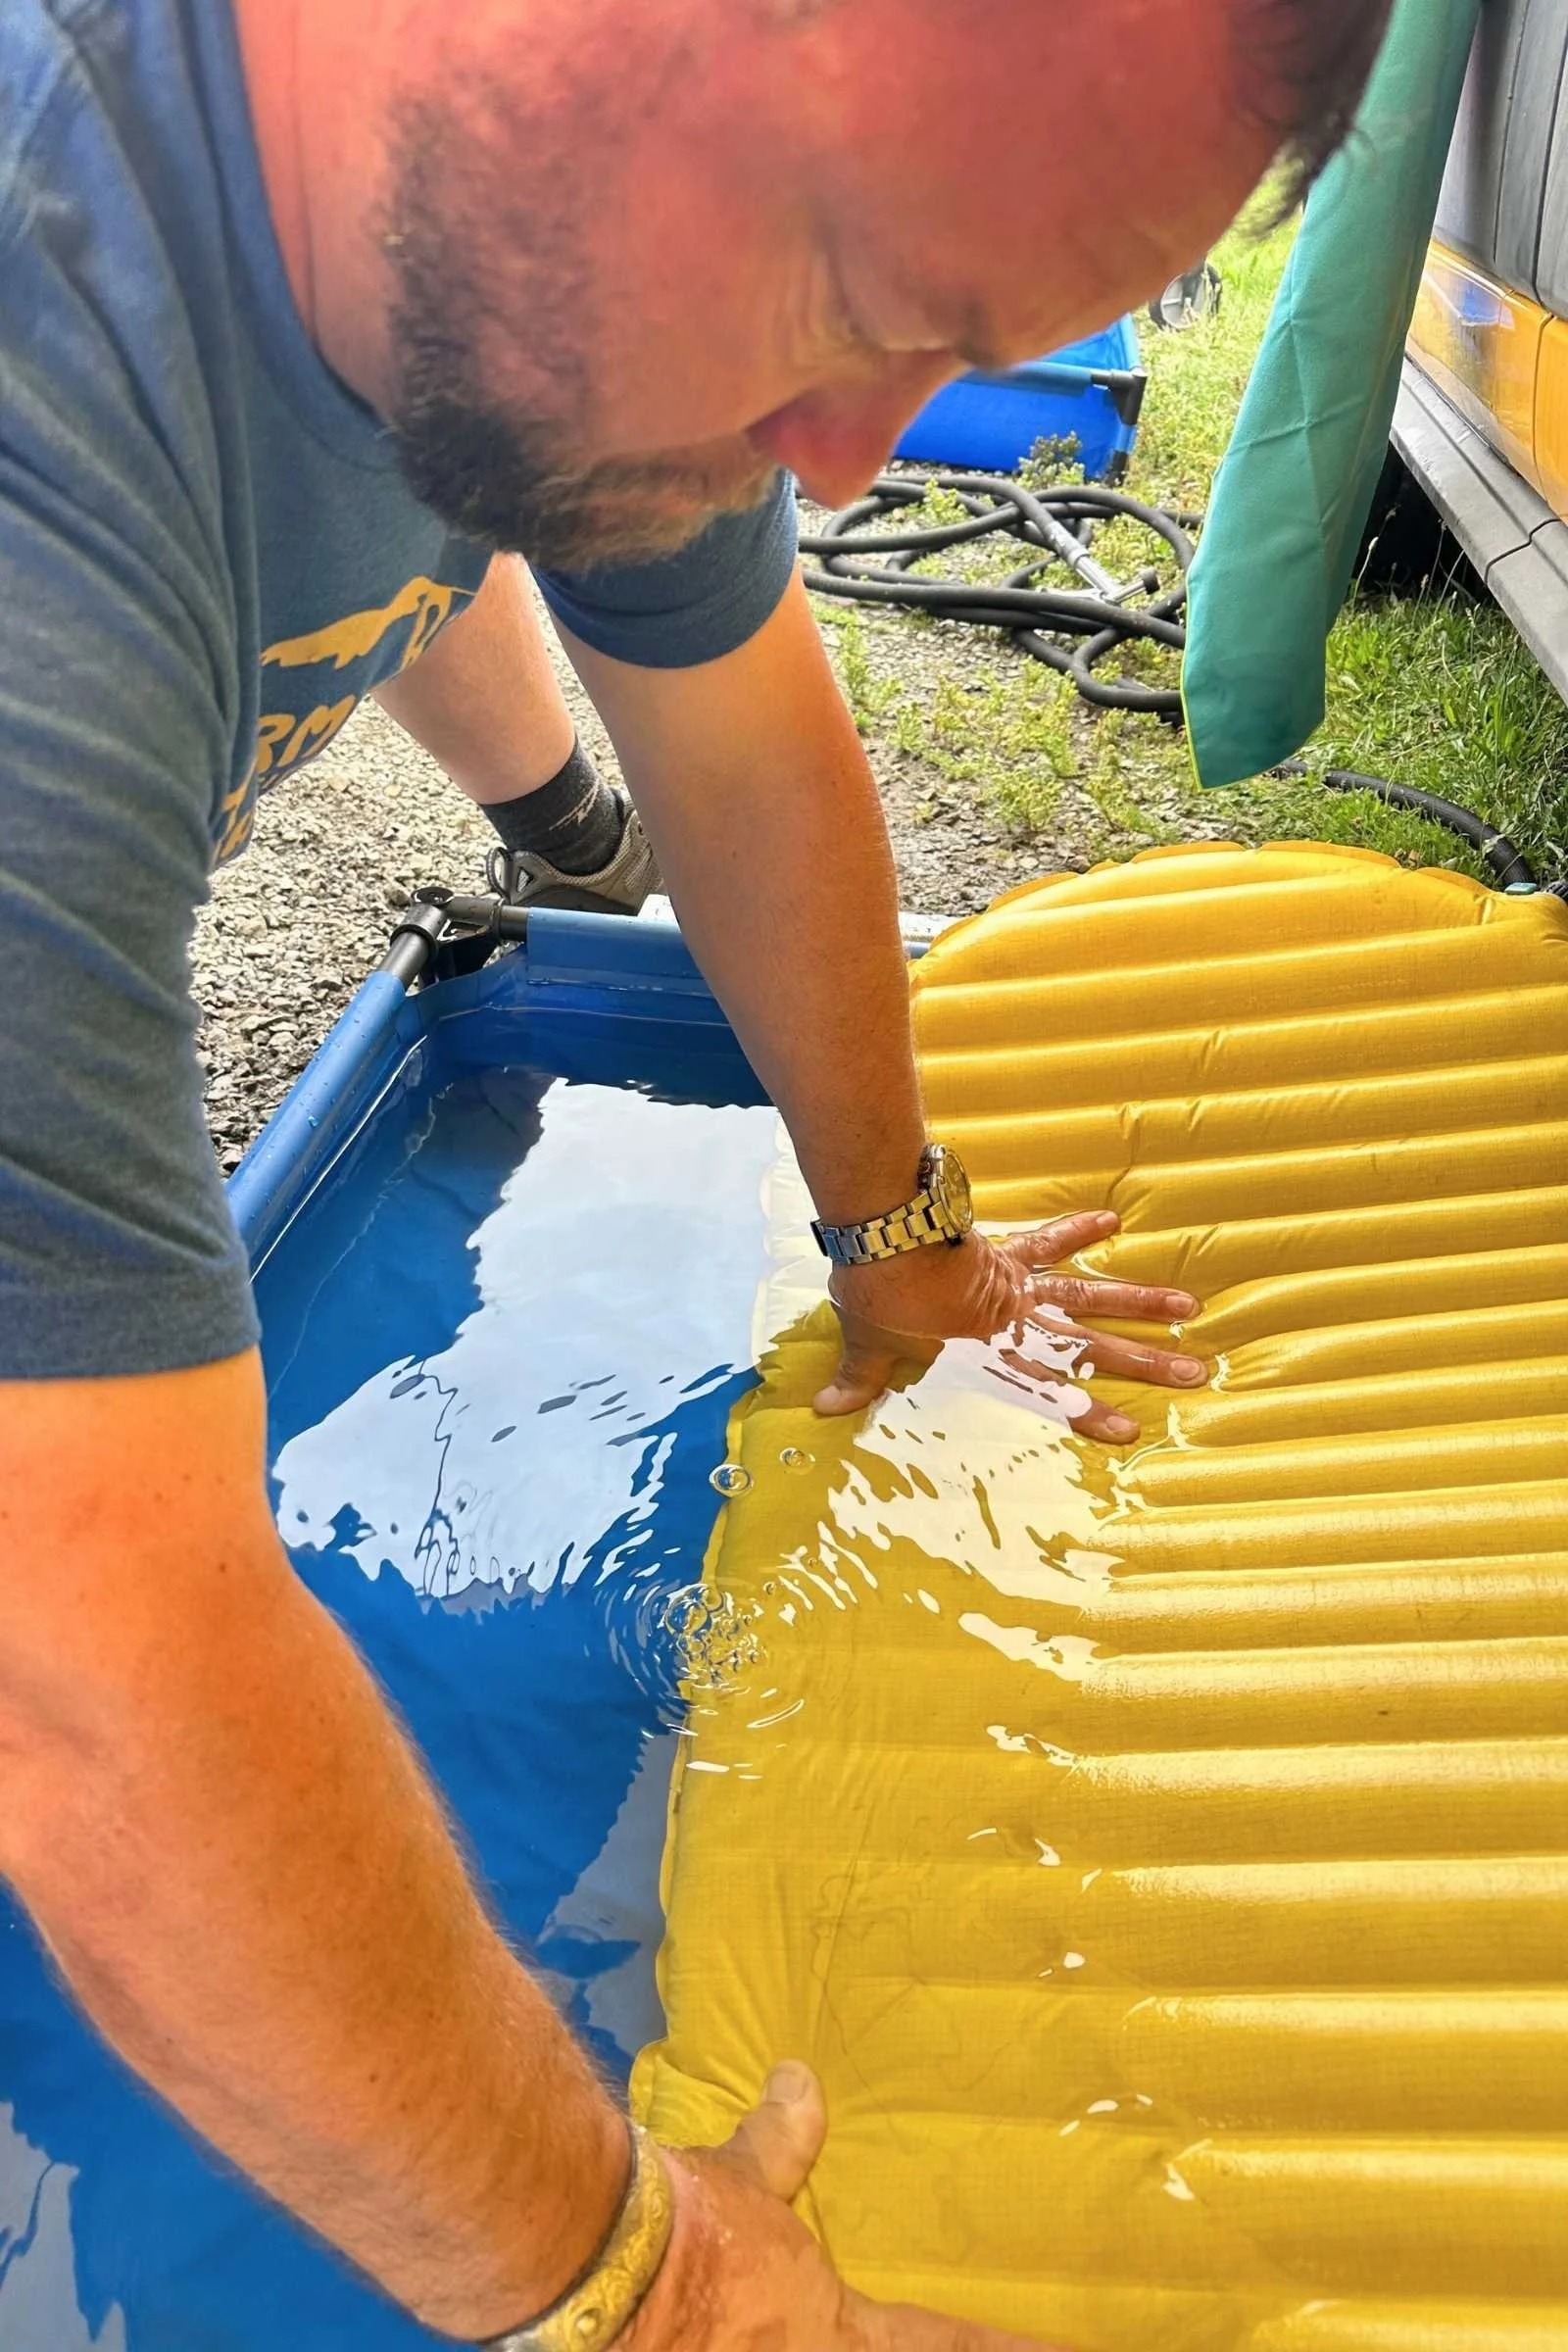
In the bathtub, add 5 inches of warm water--not hot water. Check that soap bottle for directions on the correct water-to-soap ratio. It’s usually about 3 oz. Remember to only use a technical soap designed for use on down or synthetic technical materials.
After adding down wash soap, put your sleeping bag into its stuff sack. Then slowly submerge the entire stuff sack (with the sleeping bag inside) into the soapy water.
Submerging
Put your sleeping bag in a stuff sack first. This takes the air out of your bag and prevents inflated baffles from making your bag float.
Baffles are the stitched parts of your sleeping bag on the inside and outside. They keep down in place so the insulation is evenly spread out and doesn't move around at night, creating cold spots. It's designed to hold air to keep you warm at night, but also holds air when submerged in water. Synthetic sleeping bags usually don't have baffles, but you should still move slowly while cleaning to prevent air bubbles from forming in the bag.
Slowly remove the sleeping bag from the stuff sack into the soapy water until the entire bag is out of the stuff sack. This prevents air bubbles from forming, which can pop stitching.
Once your bag is in a stuff sack, put the whole stuff sack in the lukewarm water. Slowly pull the sleeping bag from the stuff sack. Bit by bit, knead soapy water through each portion. This process takes longer if your bag has waterproof down or has recently been treated with Durable Water Repellent.
Be careful if a baffle becomes inflated with air. When this happens, quick movement can pop the baffle's stitching. Move slowly and get your section drenched until air is released from the baffle.
As your sleeping bag fills with water, it’s going to feel heavier. If you flip the bag over, use both hands to prevent ripping.
Rinse and Remove
Rinse the sleeping bag until the water runs clean. It can take more than 5 rinses until you have clean water. If there are still soap bubbles, do it again.
Instead, drain the tub with your bag still in it. Resist the urge to lift your bag.
Slowly, roll your bag to drain water. Do not ring your bag as it can cause the down to clump, which is harder to dry. Move slowly so as not to pop baffles.
Lift your bag using both hands and carry it to a dryer. I use a laundry bucket to reduce stress on the fabric.
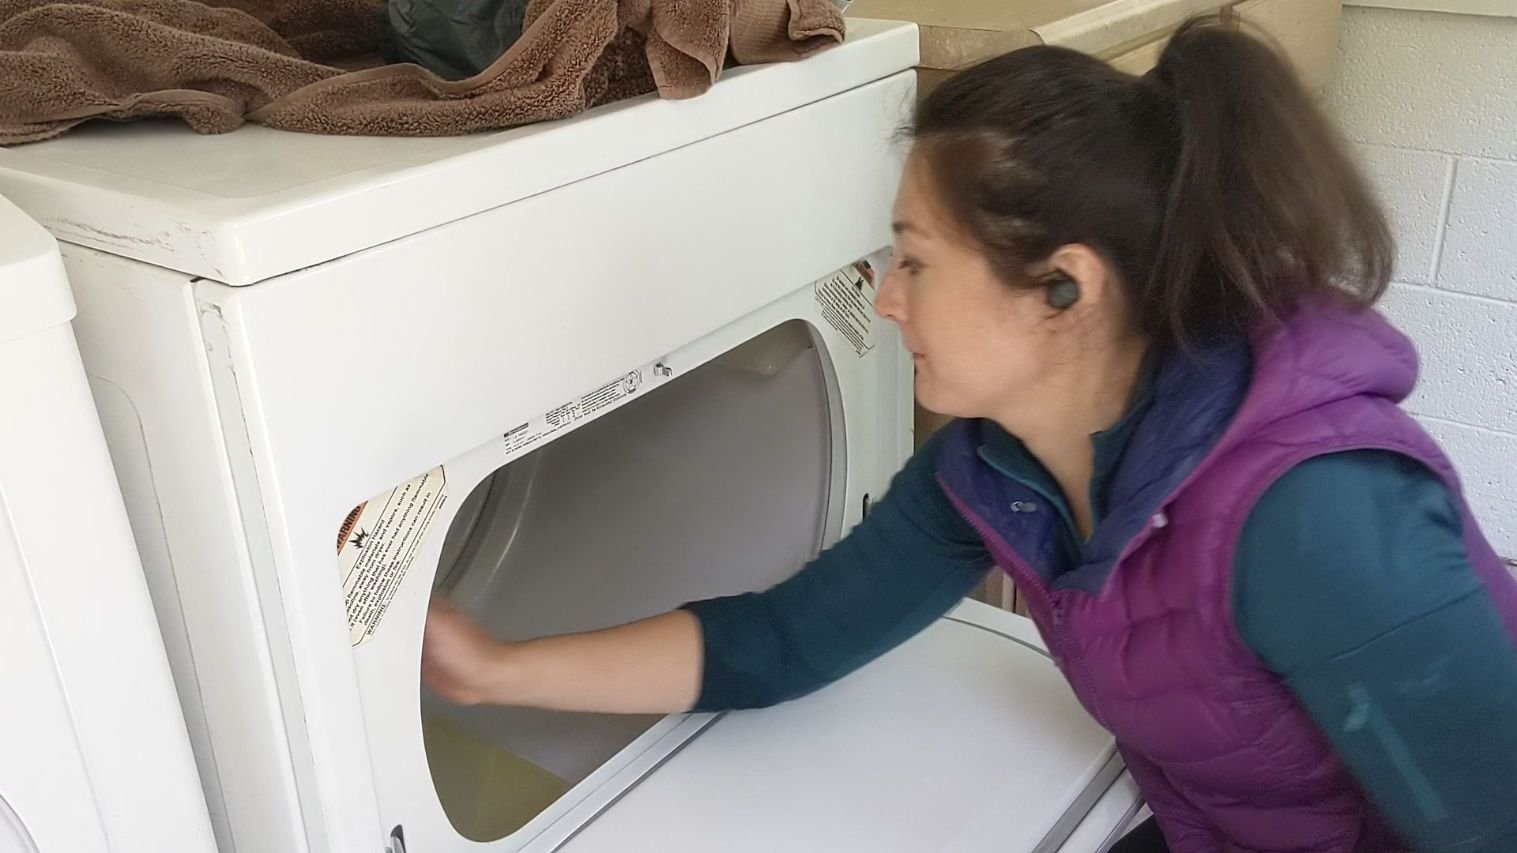
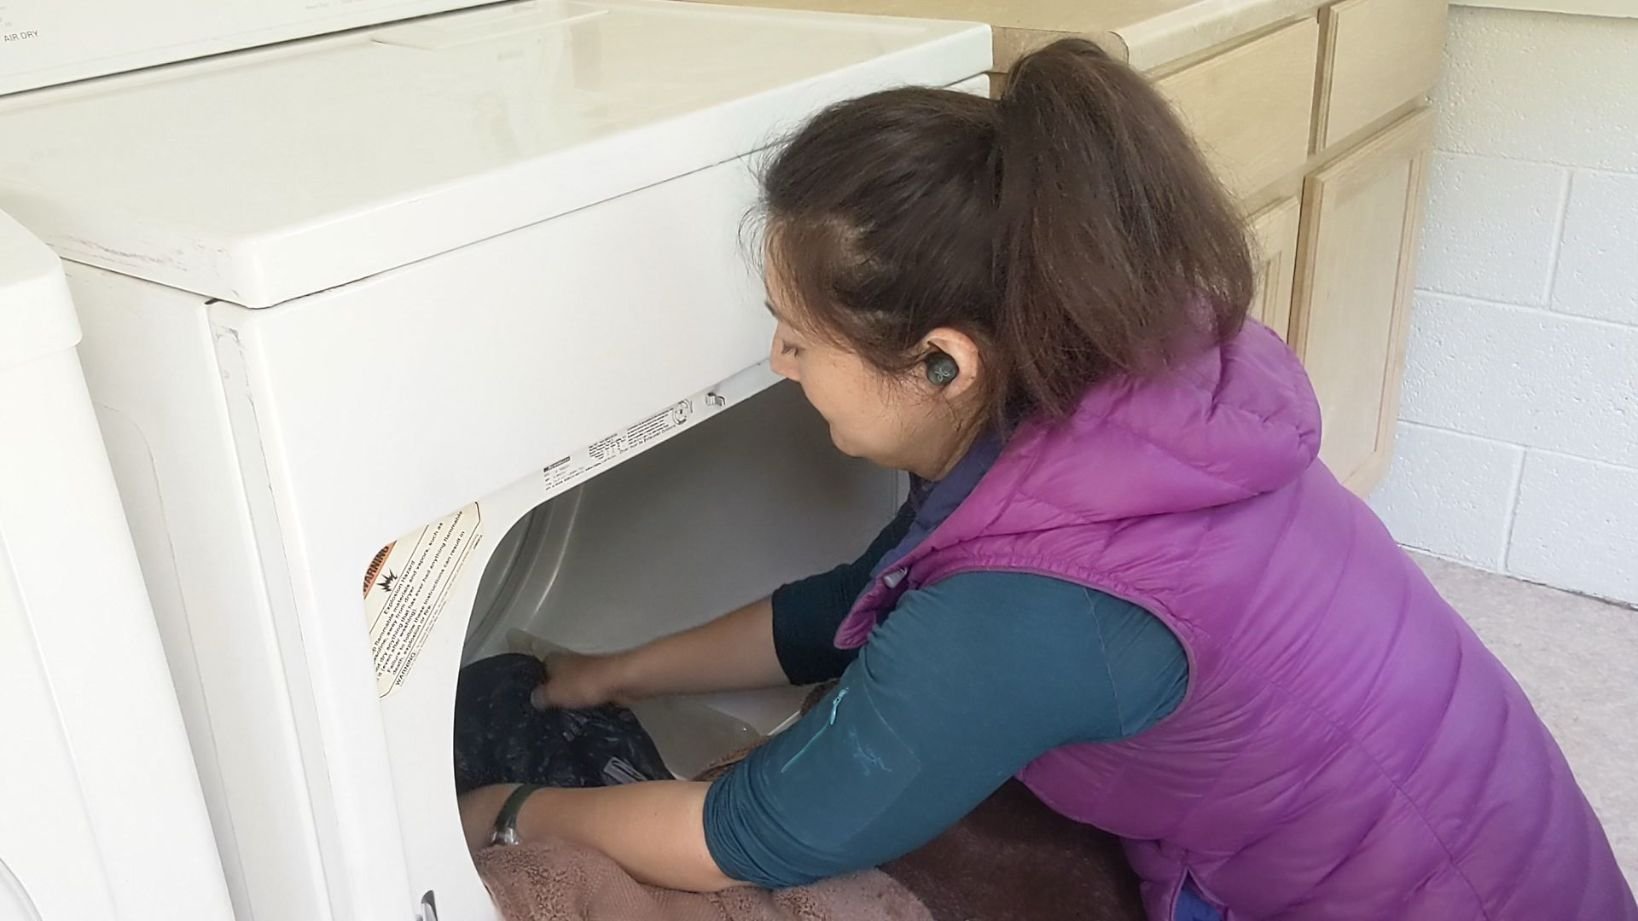
Feel for hot spots, cuts, burs, and nicks in the barrel of your dryer before adding your sleeping bag. Then slowly lower your sleeping bag into the dryer using a towel, laundry bucket, and both hands.
Drying your sleeping bag in a dryer
The key to drying your bag is making sure the dryer never gets too hot. This can melt the shell fabric of your sleeping bag and down feathers will get everywhere. If you have a synthetic bag, feathers won't get everywhere, but it still is no fun melting a hole in your sleeping bag. Furthermore, some synthetic insulation itself may melt at higher temperatures, which will make your sleeping bag less warm and comfortable.
My 20F sleeping bag takes 3-4 hours to dry. If you’re doing this at the laundromat, start well before closing hours and bring a good book.
Use both hands and a towel or laundry bucket to slowly lower your sleeping bag into a dryer.
Only use a large front-loading dryer. If you’re at a laundromat, choose the biggest one you can. Find one with a no heat setting.
Check the inside of the dryer for nicks and burrs or sharp objects. Use your hands to feel around. These can tear your sleeping bag's delicate outer material. They can also indicate hot spots in the dryer that could melt your sleeping bag.
Break up clumps. Throw a dry clean tennis ball or dryer balls in the dryer. This sounds unorthodox, but they prevent down clumps from forming and reduce drying time.
Low temperature or air dry. Set the temperature on your dryer for very low or better yet, air dry.
Wait. When your bag looks dry, pull it out and manually break up clumps of down. Your bag will often look dry before the inside parts are completely dry. Then put it back in the dryer for more time. Repeat this process until there are no clumps left. Be patient and bring a book or a good TV show to watch on your phone as the drying process can easily take 3-4 hours.
Airloft. When it’s done in the dryer, find a dry place to airloft overnight or several days until it is completely dry.
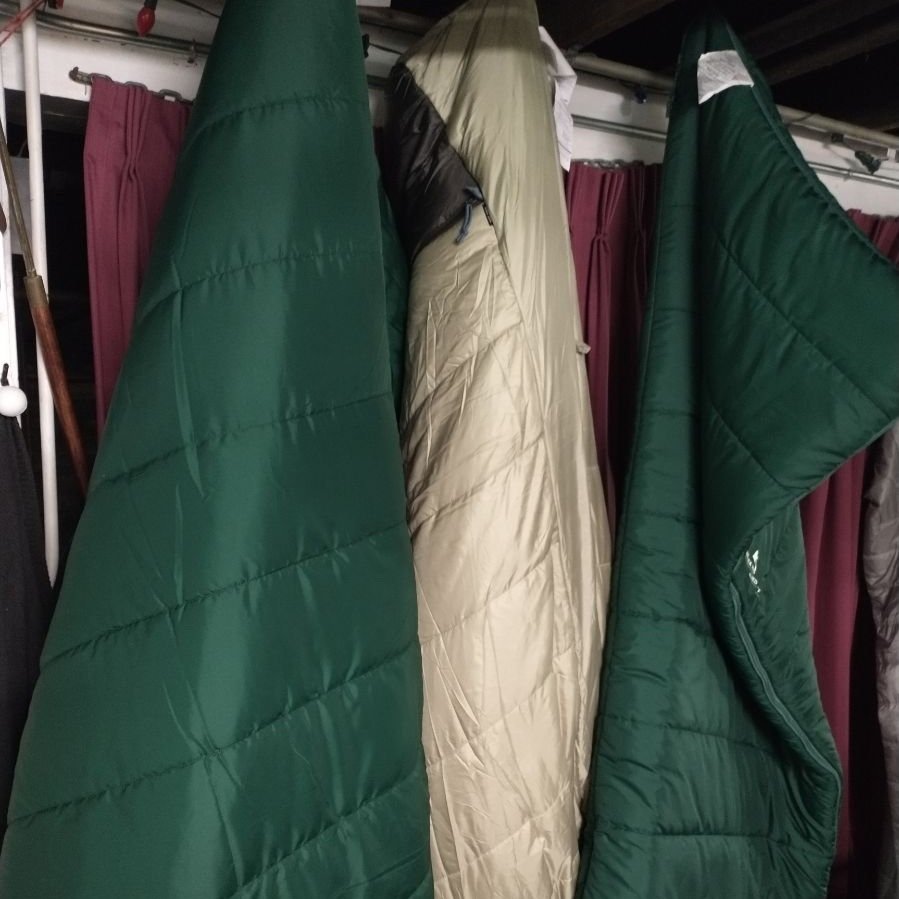
If you have the storage space, some campers and backpackers will carefully store their sleeping bags on hooks so that none of the insulation is compressed during storage.
Sleeping Bag Storage
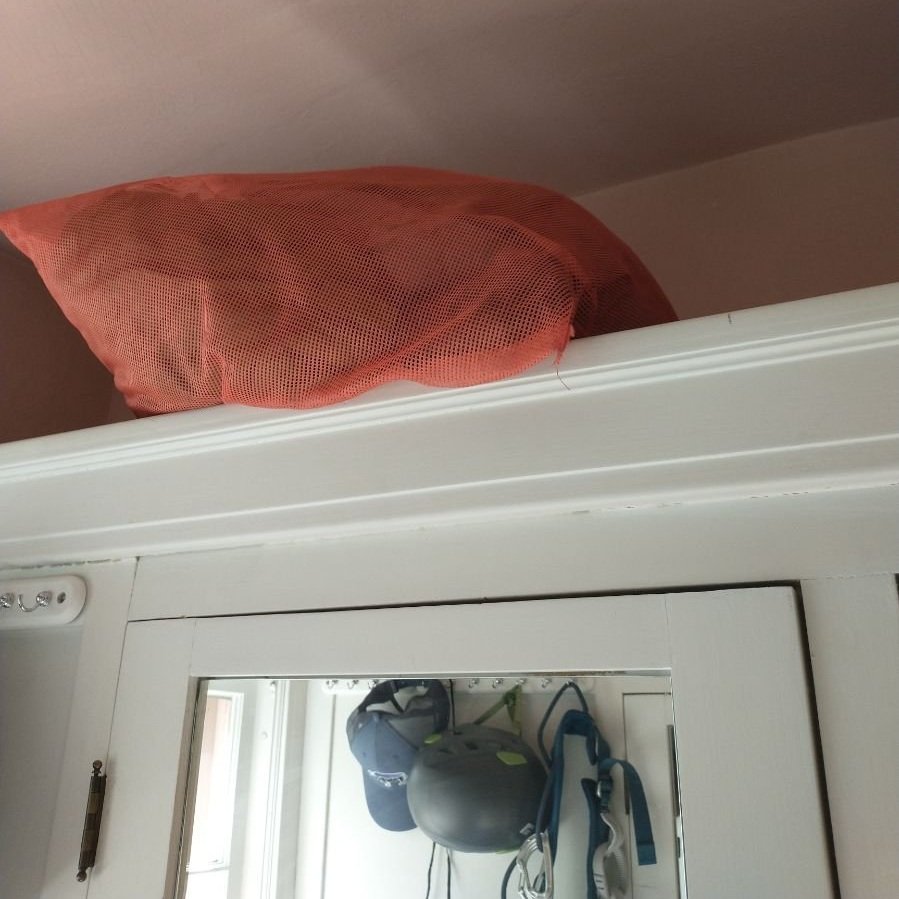
This camping sleeping bag belonging to Treeline Review writer Micah Leinbach comes with a mesh storage bag. It fits easily in attic or closet space.
Lastly, store your sleeping bag in a large, loose fitting cotton bag (or sometimes mesh) until your next adventure! While a stuff sack or a plastic bag are ok on a short backpacking trip, you’ll want it to have plenty of air circulation when storing at home.
Most sleeping bags come with a loose fitting cotton bag or mesh bag, but if you don't have one, you can purchase replacements. The stuff sack or compression sack that your sleeping bag came with is not the same as the large cotton storage bag.
Do not store your down sleeping bag compressed. Avoid attics and basements or the trunk of your car--the down does better in dry places without temperature extremes.
These are some basic washing tips for sleeping bags and down to get you ready for your next camping or backpacking trip.
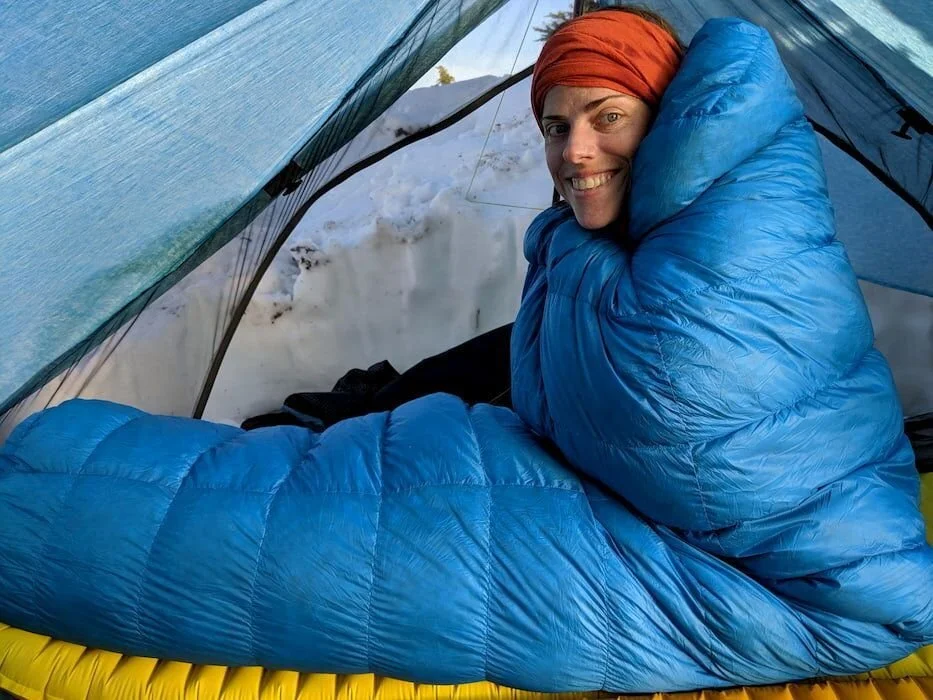
Treeline Review writer Kate Hoch in her Feathered Friends Swallow sleeping bag on Mt. Baker, WA.
Care and Maintenance
Washing sleeping bags takes time! So what can you do while backpacking and camping to keep your bag as clean as possible?
1) Use a sleeping bag liner
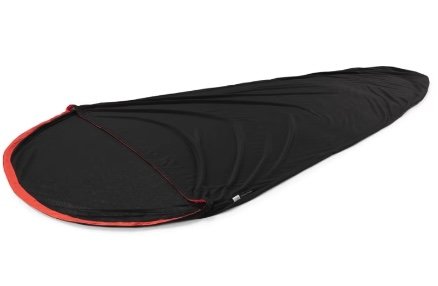
A sleeping bag liner functions like sheets on a bed. It keeps your sleeping bag from directly contacting dirt and oil from your skin. It keeps your bag safe from smoke residual from a campfire that could be on your clothes or hair. It’s the best and easiest thing you can do to protect your bag.
Your sleeping bag liner can be washed in a washing machine with normal detergent (just don't use fabric softener).
You can wash your sleeping bag liner as often as after every trip, which means you'll be sleeping against a clean “sheet” and it'll keep the inside of your sleeping bag clean, too.
We like the Sea to Summit Reactor Thermolite or Reactor Thermolite Extreme sleeping bag liners.
2) Wear pajamas
Many backpackers carry a dedicated pair of clean clothes to sleep in they wear like pajamas.
3) Wash off before getting in your sleeping bag
A little body scrub with soap or without can do a lot for keeping dirt and oil from your bag. Remember if you use soap, to do it 200 feet from water to stay within Leave No Trace guidelines.
CDT thru-hikers drying their gear, including their sleeping bag, at a trailhead after a storm.
4) Always air dry your sleeping bag each afternoon
If you’re on a backpacking trip, air dry your sleeping bag each day. This will dry condensation that dripped from your tent to the shell of your bag. More importantly, it will dry any moisture from your body or the air that is floating around the down.
FAQ
Can I dry clean my sleeping bag?
Now, I know it’s tempting to send your sleeping bag to the dry cleaners, but don’t do it. Down has natural oils that help it maintain loft, but solvents can strip them away. If you’d rather not wash your bag yourself, contact its manufacturer to find a mail-in sleeping bag cleaning service, or use one of the following:
Can I wash my down sleeping bag and down jacket together?
Yes, you can wash your down sleeping bag and down jacket at the same time. but adjust the amount of cleaning product according to the manufacturer's instructions. Also, make sure that the bathtub or washing machine is large enough so that there is enough room for both garments to circulate freely
Can I wash hydrophobic down sleeping bags?
Yes! Be sure to use a product that is specifically made for washing hydrophobic down, such as Nikwax Down Wash.Direct.
Should I re-treat with DWR (Durable Water Repellency) after washing my down sleeping bag?
As with many things in life, the answer is – it depends. It depends on the type of water repellency treatment your bag uses. It depends on how many times you've washed your bag previously. And it depends on how old your bag is. So our best advice – ask the manufacturer.
One product that is popular is the Nikwax TX.Direct Spray on, which is sprayed on and applied just to the outer sleeping bag shell material. After washing the bag, spray it on the shell, and then dry the bag as usual. However, some sleeping bag manufacturers may warn against it because it can impact the bag’s breathability, which can actually cause the down to wet out. So once again—check with the bag’s manufacturer.

