5 Common Hiking and Backpacking Injuries and Gear Swaps to Help

Photos by Tommy Corey.
Ways to prevent and reduce thru-hiking injuries with simple changes to your gear kit
March 7th, 2025
In the world of hiking, two topics prevail in most conversations: gear and pain. Here, we’ll talk about ways they overlap and gear swaps you can make to mitigate some of the most common trail injuries.
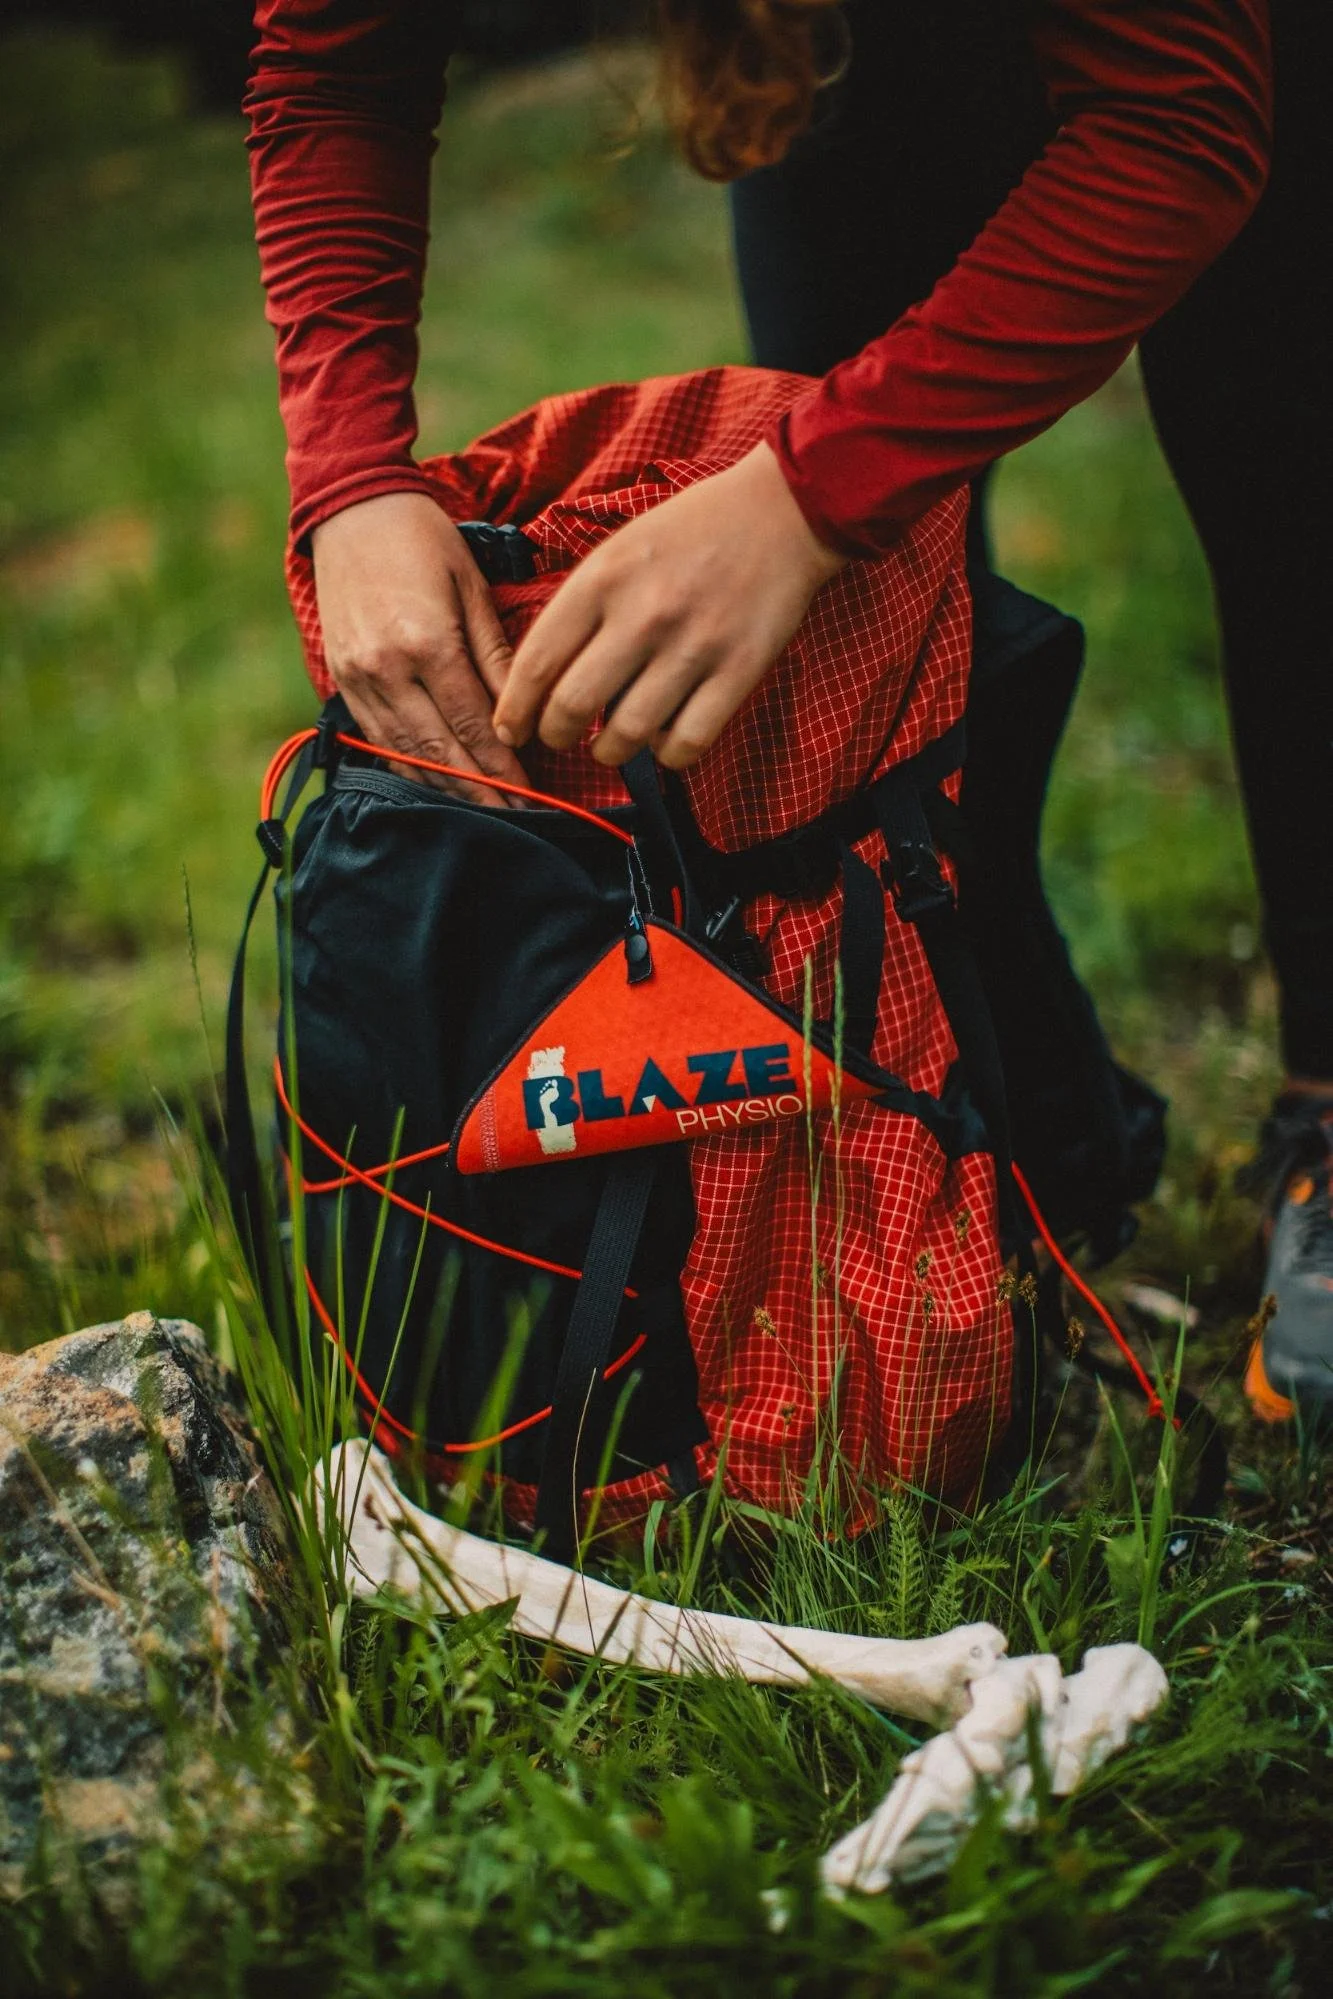
After thru-hiking thousands of miles myself, I noticed high rate of injuries among my fellow hikers, causing them to end their trips prematurely. Already positioned in a mobile living set up as a travel PT living in a van, I thought, “I am the right person to help with this.” So, I started Blaze Physio in 2021, helping hikers in person along the Pacific Crest Trail with my mobile rehab and virtually on other long trails. Utilizing my education, personal experience, and experience helping thousands of other thru-hikers, this article will dive into common injuries that also have a gear swap to treat them.
Related: Dealing with Pain on a Hike and the Recovery Strategies to Fix It
We write mission-driven gear reviews. To find the best gear, we combine expert reviews, everyday user opinions, and rigorous independent trail testing—never native ads or sponsored posts. We are 100% reader-supported and may make a small commission from some qualifying affiliate links. Learn more.
1. General foot pain

If you hike long enough, your feet will be tender. It’s important to know that most people experience that discomfort to at least a mild level. This discomfort doesn’t mean anything is wrong with you or your footwear system; it results from all the impact, swelling, and pressure on your feet all day.
Replacing your shoes
There is typically a point in any shoe's lifespan when this feeling becomes more pronounced. If you notice an increase in this tender feeling, like your feet feel bruised and tired, then you may be ready for another pair of the same shoes.
Over-the-counter insoles
Generally, this occurs between 300 and 500 miles. Over-the-counter insoles may help you move further into that range before replacing your shoes, but it’s important to understand that insoles are not required or appropriate for everyone.
When adding insoles to your shoe, you want to be sure there are no significant pressure points. The most common injury caused by improper insoles is pain over the navicular bone or posterior tibialis tendon. The navicular bone is the one that sticks out on the inner side of your foot about two fingers diagonal from your medial (inner) ankle bone. This is almost always the case with hikers with really flat feet wearing an insole for high arches with the goal of “creating an arch,” something we really only do with kids. As an adult, propping a flat arch on a hard plastic high arch and walking thousands of miles may lead to pain.
Change model of shoes
You might be in the wrong shoe if you have a more specific pain, like sharp pains or pain concentrated in a smaller area of your foot. This is especially true if the pain occurs before 300 miles. This is when I would consider trying a different brand of shoes or assessing if the shoe you’re in fits properly.
Size up or size down
A quick fit tip is that you should be able to take the insole out of the shoe, put your foot down with some weight on it, and not spill it over the edges of the insole. Another sizing tip is that people generally do well with a .5-1 size-up for long-distance hiking to account for swelling.
A quick way to assess the length of the shoe is to put your pinky in the shoe behind your heel and then your thumb in front of your big shoes (sideways) simultaneously. If you can’t do that and are having trouble with pressure spots/blisters, the shoe is likely too small.
If you can put multiple fingers in front of the toes and have blisters or ball of foot pain, the shoe is likely too big. Too big of shoes will cause the foot to slide around more and change the breakpoint (where the shoe bends at the toes) to potentially not align with where your foot flexes.
For a more in-depth guide on when to replace your worn-out shoes, you can check out this video.
You can learn more in Treeline Review's article How to Take Care of Your Feet While Hiking and Backpacking.
2. Achilles, arch, or heel pain

Zero Drop or Low Drop Shoes
One of the most common reasons a hiker may need to change shoes is pain related to zero drop. Zero drop means the heel's height and the toes' height are entirely level, and there is no height difference between them.
To simplify that understanding, a stiletto has a 3–5 inch drop, so the heel is much higher than the toes. Most popular hiking shoes are between 0–5mm, considered a “low drop”, and anything from 0–6mm has the benefits of a neutral/minimalist shoe. Topo Athletic and HOKA offer a popular low-drop alternative to their zero-drop counterparts, Altra.
Related: Topo Athletic Terraventure 4 Trail Running Shoe Review
Read more: Altra Lone Peak 9+ Trail Running Shoe Review
Often, a lack of tolerance to zero-drop shoes will present as Achilles tendon pain, heel pain, or arch pain.
The most common direct swap I see is Switching Altra Lone Peaks swapped for Topo Ultraventures.
Altra Lone Peak 9+
Men's
Women's
Topo Athletic Ultraventure
Men's
Women's
Both are time-tested thru-hiking shoes. The Lone Peaks are our Best Trail Running Shoe for Long Distance in our Best Women’s Trail Running Shoes guide and are featured in an in-depth review.
The Topo Ultraventures earned Best Wide Trail Running Shoe in our Best Men’s Trail Running Shoes guide.
While part of this swap is availability as the two most-commonly-sold shoes along the PCT, the other reason for swapping to Topo is more structure and a 5mm drop.
Among top thru-hiking shoes, Topo and Altra are the only brands with a dedicated wide-toe box. This feature alone is enough to keep competing low-drop shoes like HOKA out of consideration, especially for those with wide feet.
Related: Long-term, in-depth review of the HOKA Speedgoat 6 trail running shoes
In this transition from 0 to 5mm drops, sometimes Topo’s won’t work because they have a curved heel that is not a good fit for anyone with a Haglund’s deformity, which is common if you struggle with ankle mobility/achilles pain. A Haglund’s deformity is a bony overgrowth on the back of the heel that causes a bump at the insertion of the achilles.
If the wide toe box is simply nonnegotiable for your foot shape, and you have an issue with Topos rubbing on the back of the heel, you can often just take a knife and dig out some of the padding in the heel and combine it with a heel lock lacing technique to reduce the rubbing.
HOKA
If your foot is more narrow and fits with the specs of a HOKA, then they can be another excellent option for increasing the drop to 5mm, utilizing the rocker bottom feature to offload the ankle and sticking with a brand with a good overall reputation on trail.
The three most common Hokas on trail are the:
HOKA Speedgoats (men's and women's) - and our review of the Speedgoat 6 here
HOKA Challengers (men's and women's) - review of the Challenger 7s here
Speedgoats and Challengers both come in wide, which helps a bit with their more narrow fit. The Stinsons don’t come in wide, but they do have a roomier toe box than the other Hoka options. The Stinsons are highly padded and should be used cautiously for anyone who rolls their ankles easily.
Brooks Cascadia
Suppose Achilles pain is the primary issue, and an even higher drop is needed to reduce symptoms. In that case, Brooks Cascadia—our pick for Best Crossover shoe in our Best Women’s Trail Running Shoes guide—can be a popular 8mm option, along with some shoes from New Balance, Solomon, Adidas, and Nike.
Test your shoes
Test your shoes with a pack on and hike up and down hills over short distances before committing to a low or zero-drop shoe. There are many benefits to low/zero drop, but it is essential to be honest with your ankle mobility and progression into these shoes before embarking on a longer hike with a high level of loading unprepared.

3. Top of the foot pain
Top of the foot pain is often caused by tying shoes too tight, increasing miles too fast, or taking too long/fast of steps, which increases the foot slapping motion. Walking slower, with shorter steps and a lacing adjustment, can sometimes be all it takes to nip this pain before it becomes a tendon injury.
Ladder lacing is my most recommended way to re-lace shoes that are too tight. This can be done to reduce top of the foot pain, or just help with shoes that are getting tight from swelling.
On the topic of lacing, it’s worth mentioning the heel lock again. Heel lock lacing can help with blisters, achilles, and arch pains. This technique helps secure the foot in the shoe to reduce sliding around. Hikers often over-tighten their laces without the heel lock to achieve this same stability, leading to the above-mentioned top of foot pain. One trick I usually mention is that this technique does not have to be the top two eyelets if that is too far back on your foot/ankle. You can move it down to the 2/3rd eyelets and it will still be effective.
4. Shoulder and mid-back pain
The most common pack-related pains are typically upper-back pain and shoulder pain. Often, this will feel like a gnawing pain somewhere around the shoulder blade that you can pinpoint, but no amount of digging at it makes it feel better.
Pack fit and sizing
I see this the most on people wearing packs that are not correctly fit—either too long or short in the torso, or improper suspension compared to the pack's weight.
For proper pack fitting, each brand should have measurement instructions on their site. I highly recommend measuring yourself based on their recommendations before committing to a pack. If your pack is the right size and you still have issues, an honest look at your pack weight vs. the suspension is typically in order.
Pack features serve a purpose
Most ultralight packs that do not have hip belts, frames, or load lifters are meant to carry very light setups–total weight <20lbs– including food and water.
If you plan to hike a trail with heavy food and water carries, or you will have a double-digit base weight, then consider a pack with more suspension.
Frames distribute the load of your gear
A frame will help to distribute the weight of your pack, making variable loads between resupplies easier to distribute across your body.
A pack without a frame means that how you pack your pack is more important. Generally, you want the heaviest weight in the middle of the pack with lighter gear sandwiching the heavier stuff. If you have heavier gear (base weight>15lbs) it will be harder to concentrate your heavier weight to just the middle of the pack, which is where the frame comes in handy.
Hipbelts take the load off the shoulders
Hip belts help to take the load off the shoulders and center it on our body’s center, which is generally more ergonomic as our pelvis is designed to take on heavier loads than our shoulders.
Load lifters pull up weight
The load lifters are like fine tuners. They help pull the weight up, so rather than your pack pushing down on the shoulders it pushes the weight into your chest and upper back–similar to if you pick a rag up from the center, the edges collapse toward each other–your pack weight will be distributed through a much larger surface area on your torso.
Preventing upper-back pain
Preventing this upper-back pain is typically a little easier than getting rid of it mid-trail. Sometimes, a series of thoracic mobility and upper back exercises will be enough to alleviate these pains without a mid-trail pack switch, but other times, the area becomes so sensitive to load that switching to a pack with a good fit, a hip belt, load lifters, and a frame is the only way to continue.
Finding a pack that won't cause pain
There are many packs that fit the ultralight category with frames, belts, and load lifters.
Some of the most common/well-revered are packs from:
Gossamer Gear (newer models)
While these packs can be excellent options, they are a little more complicated to get mid-trail, and as cottage companies, the return policies are a little more restrictive. I recommend them more so if you’re looking at a pack change pre-trail with more time and financial flexibility.
A heavier option from bigger companies that are well known for faster shipping, solid suspension, and easy return policies are Osprey and REI packs. You can read an in-depth review of the Osprey Exos and Eja Pro packs here.
REI has a lighter weight pack called the “Flash” which is a good budget option that is similar to Osprey’s systems and has REI’s return policy to back it.
Harness-style packs
Honorable mentions for different pack types are harness-style packs that are increasing in prevalence. Six Moons Designs and Nashville packs are two examples of brands that have a harness topper that can help redistribute load off the shoulders without as much reliance on the hip belt for those who are sensitive to hip belt pressure.
You can read more in Treeline Review's guide to the Best Lightweight Backpacking Packs or their long-term, in-depth reviews of the Six Moon Designs Swift X Backpack, Gossamer Gear Mariposa review, or Granite Gear Crown3 60 Pack review.
5. Hip pain

If you experience hip pain mostly when sleeping, then adjusting your posture can help reduce passive tension on the hips.
Use a pillow between your knees
One easy trick is to put a blow-up pillow or a cushion between your knees to alleviate the stretch on your abductors. Sometimes, if you have enough extra clothes, that will suffice, but if you’re out long enough that you’ll have nights where you need to wear all your clothes to sleep, having an ultralight extra blow-up pillow could be just the ticket to consistently managing that nighttime pressure. You can read more in our guide to UItralight Backpacking Pillows.
Adjust your sleeping position
Another strategy, in addition to the pillow, is to cross your feet and drop your ankles off the side of your sleeping pad. This will externally rotate your hips to further reduce the strain.
Adjust your sleeping pad
If you still have nighttime hip pain after experimenting with adjustments to your sleep posture, you may also need to address your sleeping pad. For most, a blow-up pad will be more comfortable on the hips than a closed-cell foam pad. Keep in mind this is mainly related to side sleepers. If you can adapt to sleeping on your back in any of these setups, you’ll likely have less hip pain.
Change the pad inflation level
With a blow-up pad, playing with the inflation level is also worth trying. Both too firm AND too soft (deflated) can be problematic. Learning your Goldilocks inflation level is just part of the process of long-distance backpacking. For me, I pump it up using a battery-operated pump, which is the best 3oz I have added to my baseweight. Once it is fully inflated, I let out two quick bursts of air, and it’s perfect every time. Your results may vary, but getting a consistent inflation that works for me has greatly improved my backcountry sleep/hip pain.
What about knee and ankle injuries?
I didn't add knee issues or other ankle issues (other than the Achilles) among the Top 5 hiking injuries in this guide because they don't have direct gear links that can help.
Some hikers will benefit from changes in their footwear, insoles, inserts, etc. However, others may not.
Knee and ankle pain is less generalized and more assessment of that person is needed to figure out what may be causing the pain.
For example, some people with knee pain may benefit from switching to a zero drop shoe like the Altra Lone Peaks, while for others, that would make it significantly worse. When it comes to knee and ankle injuries, there is less general advice, so we recommend seeing a specialist to assess your situation.

Why you should trust us
Dr. Morgan Brosnihan is a physical therapist, thru-hiker, and creator of Blaze Physio. Blaze Physio is a mobile and telehealth PT service catering to long-distance hikers.
Over the past 4 years, Morgan “Blaze” has been able to help thousands of hikers overcome injury and stay on trail.
Part of the mission for Morgan and Blaze Physio is to spread more information/research about what she has learned to help people prevent and manage these issues so the statistic of “trail-ending injuries” continues to decrease.
More resources from Blaze can be found at blazephysio.com, including an ebook about Injury Trends on the PCT, where they occur, why they happen, and some ways to avoid them in the first 800 miles.


