Dealing with Pain on a Hike: Best Recovery Strategies for Hikers to Prevent Injury and Get Back on the Trail Faster
Hiker Pain and Recovery Tips As recommended by a physical therapist and thru-hiker

Published April 8th, 2025
Pain is a normal part of life, especially on a hike, backpacking trip, or thru-hike. It is one of the most complex human experiences and provides information from your body to your brain so you can respond appropriately.
Some pain can be protective, indicating injury or distress in a way that sends a clear message to the human experiencing it: stop now, or you’re in danger. Meanwhile, other forms of pain do not indicate damage. Still, pain can be a warning sign that damage may occur, or is simply a result of prior injury or pain, creating a cycle where the body is very good at replicating that sensation.
Pain is information–a mantra worth repeating. Just like thirst and hunger are signals from your body, pain plays the same role.
Regarding pain on trail, I have both lived and professional experience to share with you. I have hiked over 3,500 miles and helped others hike over 2 million miles despite injuries and pain through my mobile PT practice, Blaze Physio. In this article, we’ll take a deeper look at what pain means, the types of pain, and how you should respond.
Related: 5 Common Hiking and Backpacking Injuries and Gear Swaps to Help
We create reader-supported, objective gear reviews independently selected by our editors. This story may contain affiliate links, which help fund our website. When you click on the links to purchase gear, we may get a commission — without costing you an extra cent. Thank you for supporting our work and mission of outdoor coverage for every body! Learn more.
Things to know about pain
There’s a saying in the world of neuroscience that “things that fire together wire together.” We see this in common examples such as chronic back pain. The original injury/issue may be long resolved, but pain can persist for years. This is often in part because while you were experiencing the pain with specific movements in the acute phase (fire together), your brain began to anticipate “when I do this, it hurts” (wire together).
Eventually, the issue causing the pain resolves, but the pain remains. I learned another perspective on pain from a conference back in 2016. I wish I had the speaker’s name, but the takeaway was that the emotional context can amplify the experience of pain. The speaker, in this case, was a tattoo artist. Have you ever wondered why different people feel different levels of pain with similar tattoos? This artist noticed that people receiving celebratory tattoos often had less pain than those receiving tattoos in memory of or grief-related contexts.
With the context now that pain does not equal damage, and the level of pain you experience can be influenced by many factors, including stress, sleep deprivation, anxiety (think, “If I am injured and have to quit this hike, I don’t know what I will do from here”), recovery, etc. Let’s unpack how you can manage this on a thru-hike.
Prevent and Recover from Blisters

You’re hiking along and notice a hot spot in your shoe. The likely explanation is that something is rubbing your skin, and it is unlikely that you suddenly broke your foot. Respond to that information by taking your shoes off, investigating your skin, and using hotspot treatments.
Some tried-and-true skin care methods on trail include:
Injinji sock liners. These are toe socks that can prevent rubbing between the toes. We’ve reviewed Injinji socks in our Best Hiking Socks and Best Running Socks guides.
Blister wool. An all-natural blister prevention technique. Place wool over where it is rubbing. If it is a toe, wrap it around the toe. Pull your sock over it.
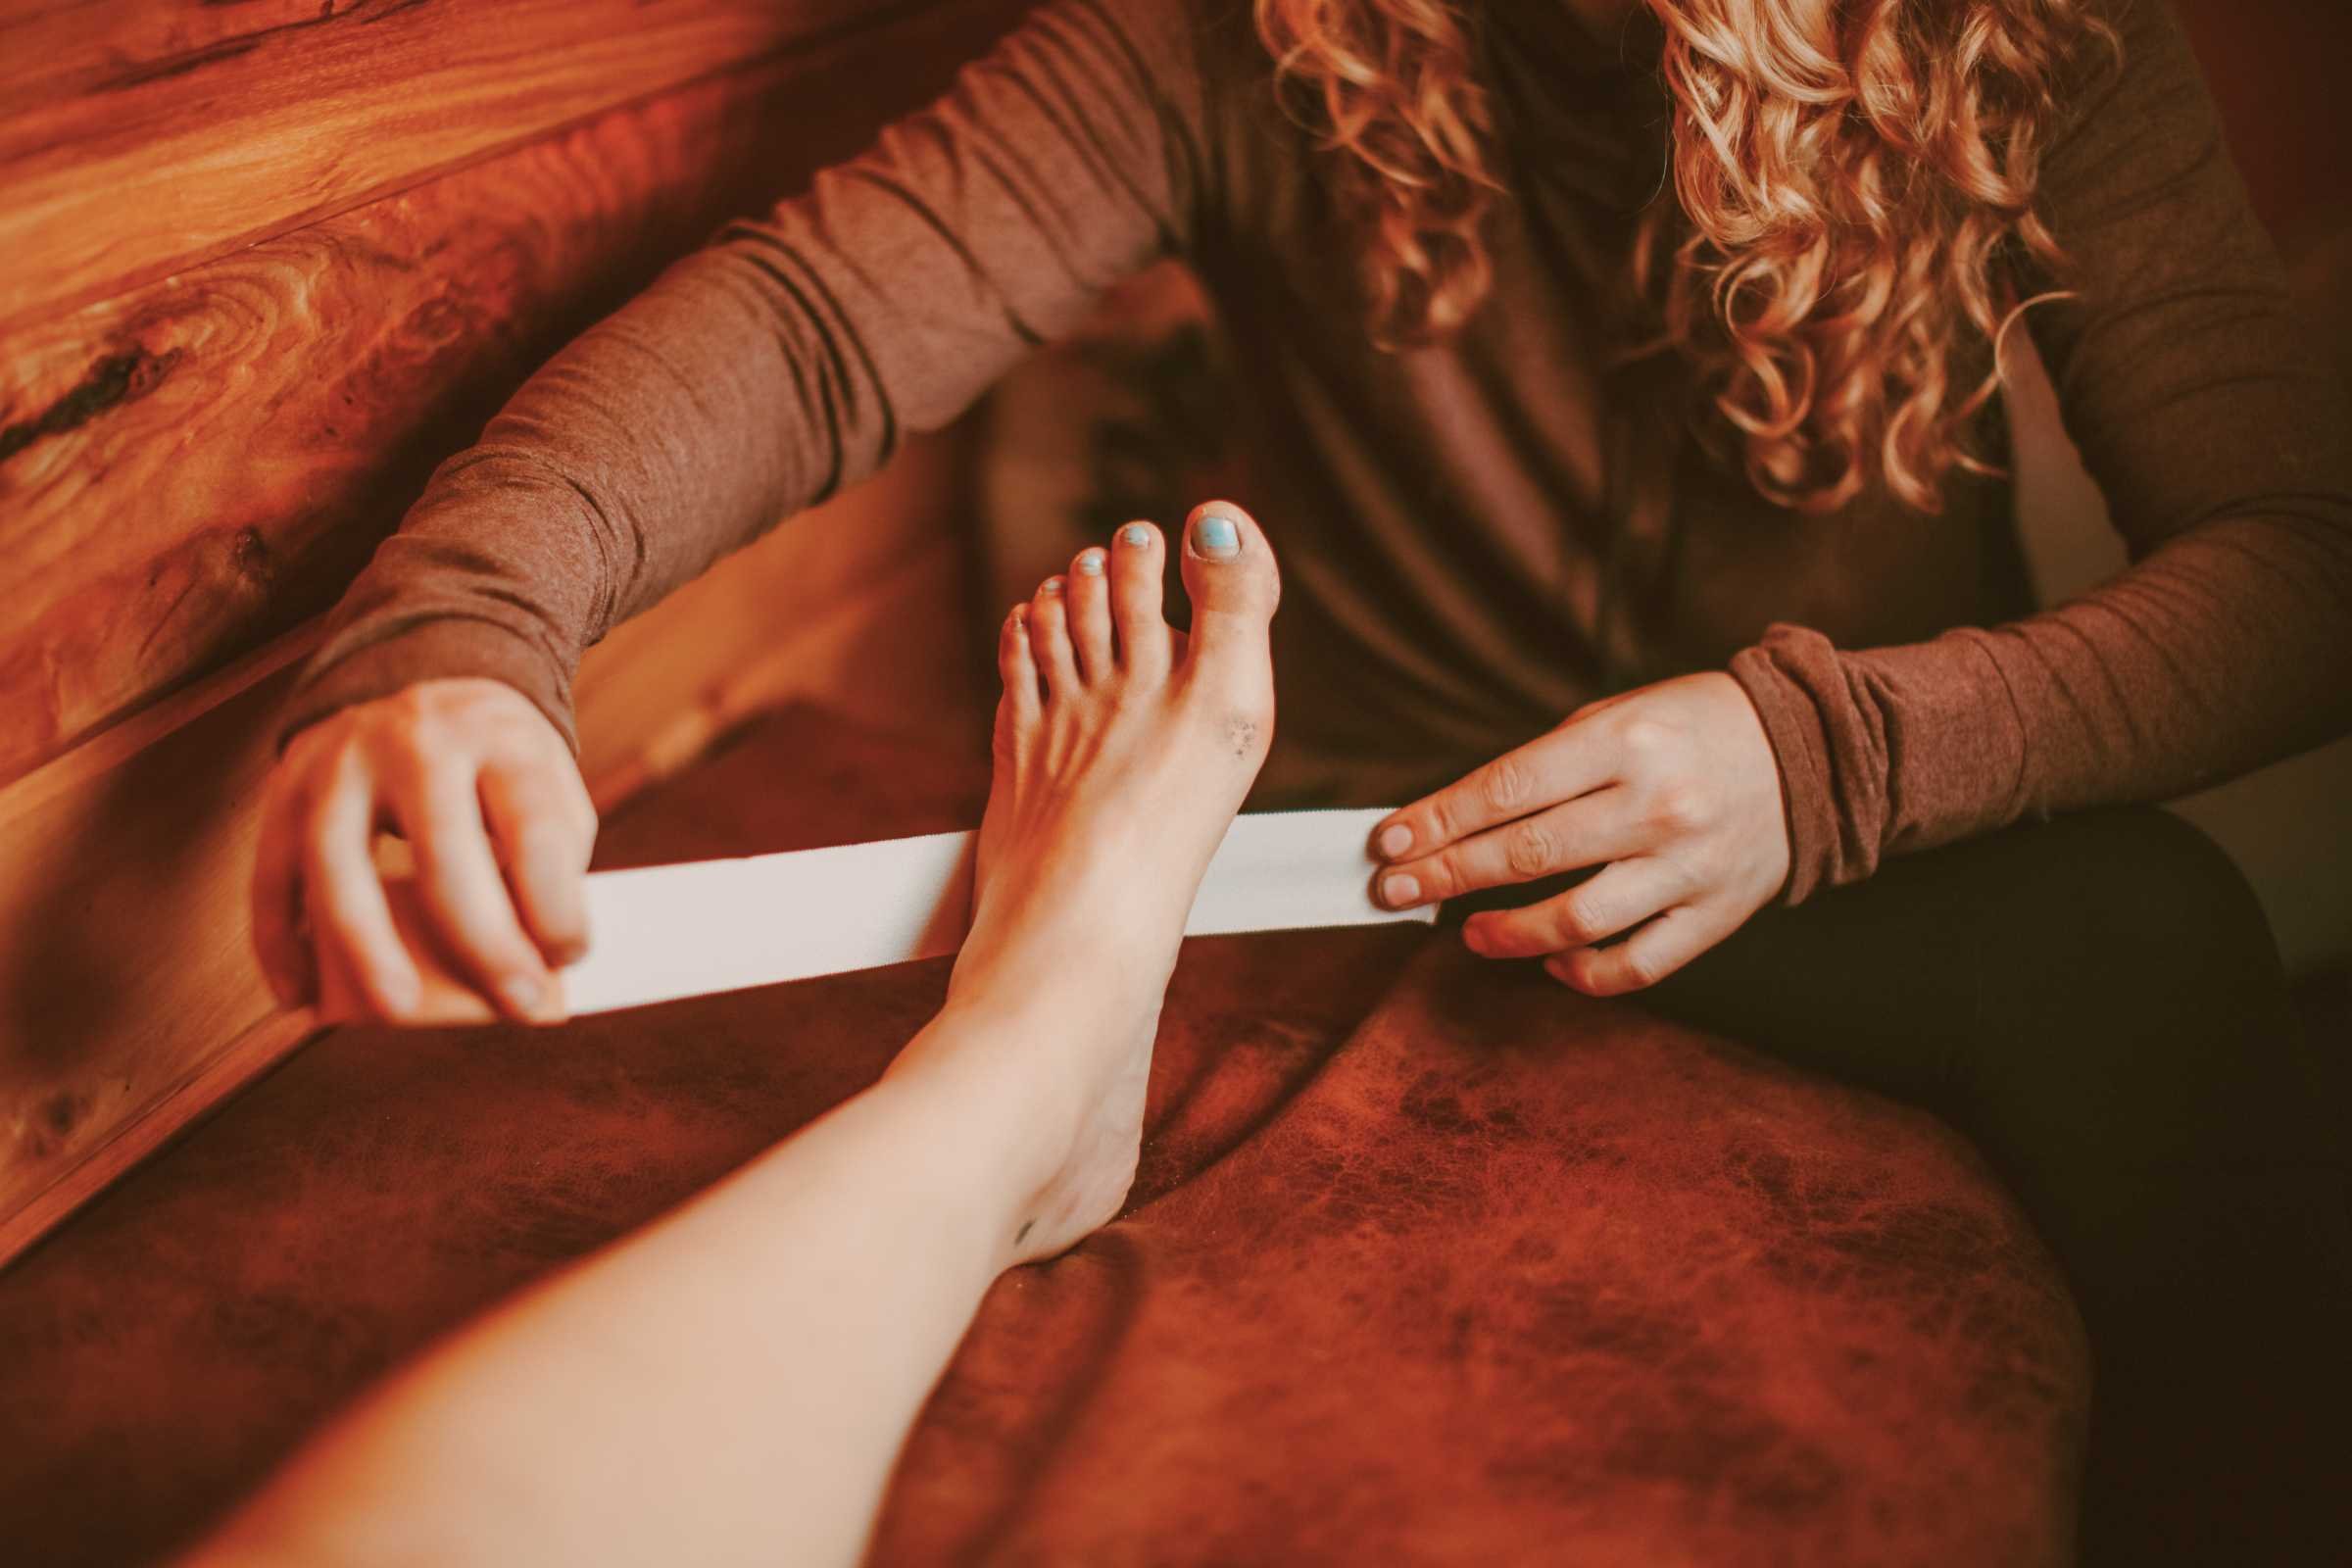
Leuko Tape–with caution; Leuko tape is not designed to go directly on your skin. That being said, most thru-hikers are completely fine doing this, and it is one of the most popular methods of reducing friction and hot spots, as this tape sticks for multiple days. If you have never used this tape, I recommend patch-testing it on an area less consequential than your feet to ensure you’ll be okay.
Body Glide or other skin lubricants.
And, of course, proper shoe sizing. A quick guide to shoe size is to take the insole out of the shoe, and your foot should not be spilling over the edge of any part of the insole. You can also try simultaneously putting your pinky behind the heel and the thumb sideways in front of the toes to measure length. This strategy works for most people, but sometimes, our feet/shoe combination needs more attention if you still have blisters.
Taking care of your skin is one of the most important ways to prevent infection and secondary injury from adjusting your gait around painful blisters. You can read more tips in our article on How to Take Care of Your Feet while Hiking and Backpacking.
Prevent and Recover from the Niggles (Small Aches)

If there is any slang I plan to keep forever from our Aussie/UK friends, it’s niggles. Synonymous with little aches and pains, a niggle is a common experience on a thru-hike that correlates with pain that serves as a warning but is typically not an indication of damage–yet.
What should you do if you start to feel a niggle?
1: Stop and rest. Take an hour or so, eat a snack, make sure you’re hydrated, and even elevate your feet for a bit. Often a niggle is present to tell you you’re starting to overload a certain tissue and your body needs a break to catch up.
2: Do not immediately pop ibuprofen. As an anti-inflammatory, Ibuprofen can reduce your body’s natural response to tissue damage and ultimately delay healing. That’s not to say it never has a place in injury management, but “Vitamin I” is NOT recommended daily, especially when doing regular physical activity requiring muscle breakdown and repair.
3: Take shorter steps and walk a bit slower. Knowing that you’re likely experiencing overloaded tissues, these two gait tweaks can keep you moving forward while reducing the strain on your body.
4: If the pain doesn’t resolve with steps 1-3, consider ending your day early. Sometimes, a good night's rest will cure those mild aches.
5: Try not to panic. Remember, pain is an experience, and anxiety about your pain has the potential to increase its intensity. Repeat to yourself: pain is normal and expected on a thru-hike and in life. If this pain moves around or is quickly resolved by the steps above, it’s likely nothing to worry about.
Prevent and Recovery from Pressure point pain
Common causes of pressure-induced pain are shoes, insoles, packs, and sleeping mats.
Shoes

Top of the foot pain can be relieved by ladder lacing, as discussed in our guide on 5 Common Hiking and Backpacking Injuries and Gear Swaps to Help.
Other common pressure spots are the malleoli (inner and outer ankle bones) hitting the rim of the shoe. This is common in the newer HOKA Speedgoats, an otherwise popular shoe among thru-hikers.
I experienced this issue in the Speedgoats on the Colorado Trail in 2024, and after posting on Instagram, I learned I was definitely not alone. If that shoe is working well for you, or any shoe for that matter, and the main issue is pressure from the heel cup, then I have great news–you can cut it.
Topo Athletics are another popular shoe brand that I have experienced and seen other hikers experience pressure spots on the back of the heel. This is especially relevant for someone with a Haglund’s deformity.
Similar to HOKAs, hikers have successfully relieved this pain with a knife or scissors to reduce the padding in the heel and the pressure. While you wouldn’t cut the whole back off (in most cases), you can dig out the cushion like a donut hole around the tender spot, smooth it out with some Leuko Tape or duct tape, and that is often all it takes to relieve that pain. If you have Achilles tendinopathy, this might help some, but it’s likely not the shoe pressure that is causing the issue and more of an issue of overloading the tendon.
Insoles
Inner heel and arch pain are common from improperly fitting orthotics. The best solution is to get a different insole or maybe not use them. For this reason, I recommend keeping the factory insoles until you are certain the new insoles are working for you. They are only a few ounces, and while they are relatively unremarkable on their own, they are hard to replace if you need to return to a non-orthotic option. Let’s face it: Rooting through the hiker box shoe graveyard is an option, but is it one you really want to use?
Packs and pads

I also covered this topic in our guide on 5 Common Hiking and Backpacking Injuries and Gear Swaps to Help, but I have a few more points regarding pack fit.
Packs tend to cause pain in the shoulders/mid back from poor weight distribution or suspension. If you’re experiencing shoulder/mid-back pain, here are some steps to take:
1: Take more pack breaks and move your spine. A simple stretching routine can help keep your spine/shoulders happy while carrying a pack all day.
2: Adjust your pack. Our packs need to be readjusted for many reasons, including weight loss (often seen during a thru-hike), straps moving with wear, and wear and tear on the pack. I recommend starting with the hip belt and working your way up. If you are beginning a thru-hike with extra weight on your body and anticipate a significant weight fluctuation by the end of the trail, buying a pack with an adjustable/changeable hip belt would be wise. You want the pack to sit about 50% on the iliac crest and 50% around the pelvis–think about your hips like a shelf.
Next, pull down on the shoulder straps to bring the bag against your back. It shouldn’t be so tight that you feel the pack start to lift up; it should just secure the bag to your back.
If your pack has load lifters, the straps on top of the shoulder that lift upwards, you can pull down on them until you can easily slip a finger under your shoulder strap at the top of your shoulder.
Finally, the sternum strap should pull the straps off your shoulders and feel like your pack is sandwiching your body rather than weighing down on them.
These adjustments apply to most of the standard packs that include these features. If your pack doesn’t have these features, you can reduce uneven stress on your shoulders/back by readjusting how you pack your bag so the majority of the weight is in the center of the pack and the items are dispersed evenly to mimic the stability of a frame. For shorter hikers with a lower center of gravity, you can also trial having the weight distributed closer to the hips/bottom of your pack.
3: Consider a new pack. If none of these adjustments are helping and you only experience this discomfort when wearing your pack, it might be worth switching. Improper sizing or loads that exceed what your pack is meant to carry can all be reasons your pack might not be right for you. I recommend contacting the company you are using to learn how to utilize their pack best. If that doesn't work, consider switching. Many women find that traditional unisex packs don't fit as well. For more information, see our guide to Best Women's Hiking and Backpacking Packs.
Recovery tools and resources

A Rawlogy cork ball is a great recovery tool on trail. These little tools are excellent for rolling out sore muscles and as a physical reminder to take care of yourself. Everything in your pack is handled daily and serves a purpose to be worth its weight. Carrying this little ball not only gives you a tool for massaging your muscles but a reminder that you can’t expect to reap the benefits of the effort you didn’t put in.
Lee from Trailside Fitness also has an excellent self care guide for hikers.
In addition to YouTube and Instagram videos, my ebook PCT Injury Trends contains additional tips and tricks.
We also highlight recovery tools in our Best Running Accessories guide.
We can only gain strength and endurance as much as we recover. The above tips are ways to ease aching muscles and stay physically balanced, but your sleep, nutrition, and rest days are also key to reducing pain and injury on a thru-hike.
For nutrition advice, I recommend anything from Backcountry Foodie, a dietician and backpacker dedicated to making ultralight backpacking meals more nutritious and sustainable.
What to do if pain isn’t resolving with any of these strategies
If you have any of these issues, you may need to further assess your pain for possible injury:
Pain that lingers for more than a day in the same spot
Pain that doesn’t resolve overnight
Pain that you rate above a 5/10 for more than an hour
Pain that is trauma related
So, what should you do next? In some cases, taking 1-3 days off can resolve mild issues, but if your pain checked any of these boxes, getting a professional consult is likely a good plan. I offer in-person help on the PCT and virtual sessions to most other long-distance trails (state-dependent). However, if you want a framework of questions you should feel good about answering before you head back out, here’s what we typically address in a consult:
Is your issue gear-related? Outlined above are some common ones, with more gear swaps in our guide on 5 Common Hiking and Backpacking Injuries and Gear Swaps to Help. The most common swaps are footwear and pack swaps.
Are there any tape or bracing options that may help? I have some basics on YouTube. Tape and braces can be helpful tools, but the expectation should be 10-25% improvement with any of these options, so they are considered supplemental tools.
What exercises can you do to help? It might sound crazy to add exercise while you’re already walking all day, but hear me out. Some issues, like tendinopathy, benefit from specific types of loading to heal properly.
Stretching often makes a tendon feel worse because it is a compressive load.
On the other hand, isometrics–where you hold a contraction without moving the joint–often reduce tendon pain for an average of 45 minutes.
An example would be doing wall sits (or tree sits) 4 x 30 seconds with 1-2 minutes rest between sets for patella tendon pain.
There are also issues related to mobility restrictions or muscle imbalances that will improve with various exercises to help activate/move your body more efficiently.
Should you take meds? Probably not, but in some cases, yes. Certain inflammatory issues benefit from prescription medications like steroids, and others benefit from NSAIDs to reduce inflammation. This is best decided on a case-by-case basis with the guidance of a medical professional.

Do you need to adjust your gait? Typical adjustments are shorter steps and a slower pace, but other adjustments can make a big difference for some. Common cues I give are more narrow steps for issues with overpronation, wider steps for IT band pain, or emphasizing the big toe when pushing off to help stabilize the ankle/arch.
Can you keep hiking? Probably, but not always. This is where a professional is helpful if there is any doubt, but the short answer is it depends. If you are seeing improvement in town and can walk without a limp or <1/10 pain with your pack off on even terrain, there’s a good chance hiking is still on the table. If you’re having resting pain or pain that is severely altering your gait/not improving, you might need more than a few days off and further assessment/intervention.
What should your mileage be? A good rule of thumb when getting back on after an injury is to reduce mileage by 10% for every day you took off. If you have been off for 5 days, I would cut mileage by 50% for at least the first day or two. This equation has some flexibility depending on how high your mileage was, but it’s a place to start.
What to keep in mind on a thru-hike
I hope your key takeaways from this article are that pain is a reasonable and expected part of long-distance hiking and life.
Pain does not always indicate a problem but should be treated as information.
When in doubt, seek professional guidance, and know that your body can heal while continuing to hike for a majority of issues–but you have to respect the injury or pain you’re experiencing.
We are pretty resilient as humans, and if the option is occasional pain with overuse vs. pain/disease from being sedentary, I’d choose the former every time.
About the author / Why you should trust us
Dr. Morgan Brosnihan is a physical therapist, thru-hiker, and creator of Blaze Physio. Blaze Physio is a mobile and telehealth PT service catering to long-distance hikers.
Over the past 4 years, Morgan “Blaze” has been able to help thousands of hikers overcome injury and stay on trail.
Part of the mission for Morgan and Blaze Physio is to spread more information/research about what she has learned to help people prevent and manage these issues so the statistic of “trail-ending injuries” continues to decrease.
More resources from Blaze can be found at blazephysio.com, including an ebook about Injury Trends on the PCT, where they occur, why they happen, and some ways to avoid them in the first 800 miles.


